| FREE-BREATHING PERFORMANCE! Installing the AIRAID intake system. |
|
| FREE-BREATHING PERFORMANCE! Installing the AIRAID intake system. |
|
 [ see detail ] |
For safety reasons, it is always a good idea to
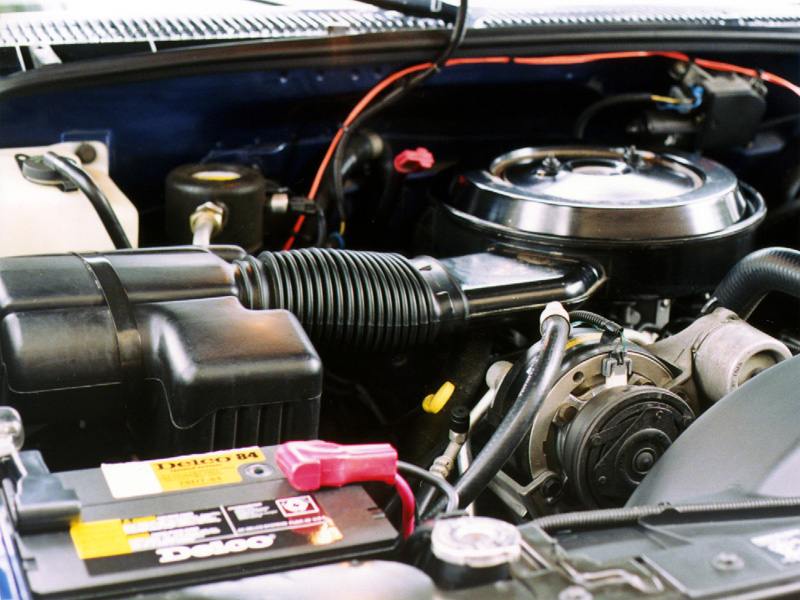
disconnect the negative battery cable before you start working. The first step is to remove the entire stock air intake assembly. To do this, first remove the wing nuts on the air cleaner box and remove the main air cleaner assembly. Using a 10mm wrench you can remove the metal strap that holds the silencer box. The bolt is located underneath the front side of the silencer box. You can then pull the silencer from the right fender housing. |
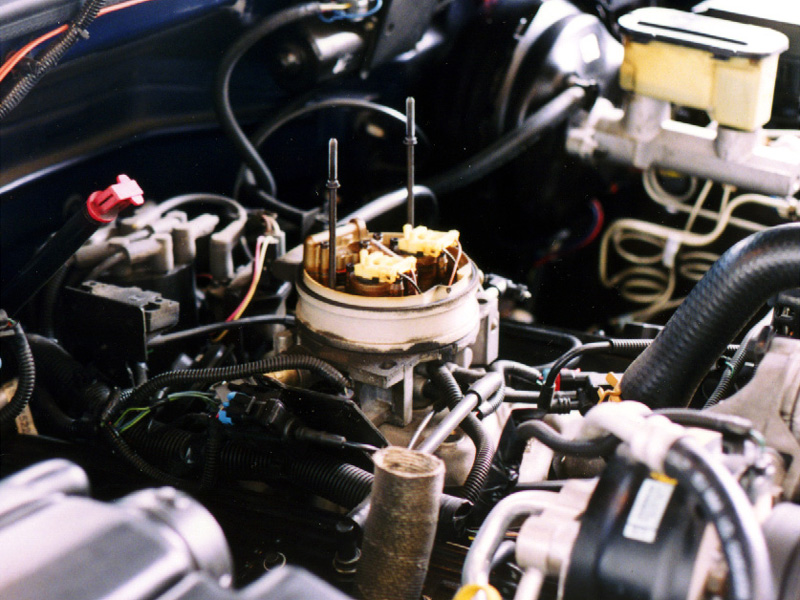
| Next, remove the crankcase breather ring which sits
over the throttle body. Disconnect it from the crankcase breather hose, but leave the
breather hose in the rocker cover. Be careful not to drop anything into the throttle body, and make sure that it is free of debris. |
 [ see detail ] |
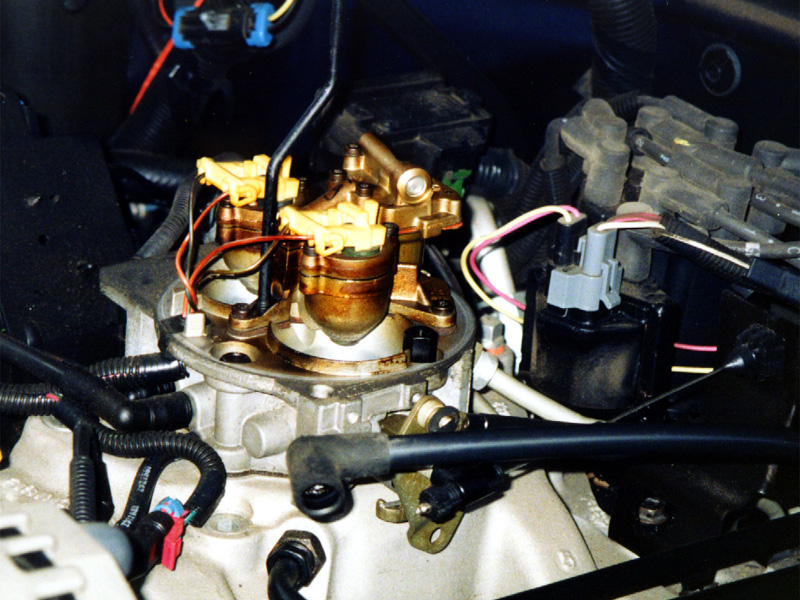
| The '95 Chevy we installed the system on comes with dual air cleaner studs (see picture above). In fact, all '93 to '95 Chevy/GMC trucks use two air cleaner studs, and need to be converted to a single stud to use the AIRAID system. |
 [ see detail ] |
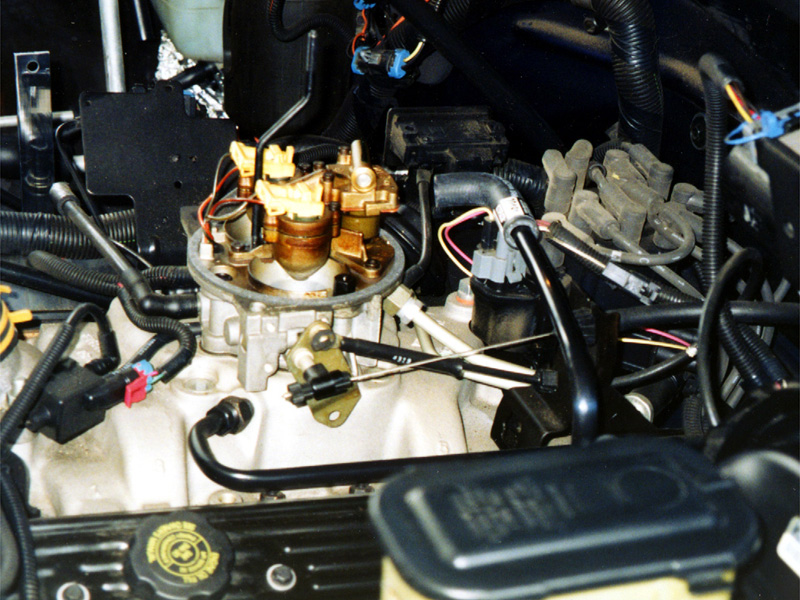
To do the conversion, first remove the two air cleaner
hold down studs. First, thread the 6mm nut onto one end of the S-shaped threaded stud,
with the flat side of the nut facing out. Thread the stud into the cnter hole in the
throttle body (located just in front of the injectors, between the throttle bores). You
can test-fit the AIRAID hat over stud, setting the height so that approximately 1/2-inch
of thread protrudes through the hat. Then secure the stud in position using the 6mm nut. (The picture at left shows the crankcase breather hose in the foreground.) |
| This polished support bracket attaches to the passenger-side cylinder head. To attach it, remove the 3/8-inch dipstick tube mounting bracket bolt. Place the polished bracket between the cylinder head and dipstick mounting bracket and reinstall the original bolt. The stock bolt wasn't made long enough for this purpose, so threading it can be a bit tricky. |  |
Before adding the AIRAID intake system, position the Fel-Pro gasket over the throttle body. Then replace the stock rubber elbow on the crankcase breather hose with the Gates rubber 90-degree elbow. We had to trim 1/4-inch from the side of the elbow that attaches to the AIRAID assembly to clear distributor coil. |
 [ see detail ] |
 [ see detail ] |
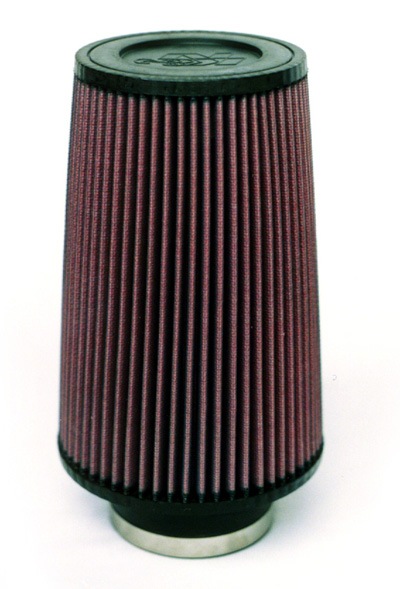
Now assemble the AIRAID system. Clean the inside of the intake tube and AIRAID hat, removing any debris or residue. Then, using the stainless-steel clamp with rubber insert, attach them together. Slide the K&N filter onto the aluminum tube. Tighten all bolts lightly. Overtightening them can bend the aluminum tube. |
 [ see detail ] |
Carefully position the assembled AIRAID over the
throttle body and align the support bracket. Secure the bracket using the 3/8-inch bolt
and locking nut. Then add the billet aluminum nut on top of the AIRAID hat, being careful not to overtighten. Overtightening this nut can strip the soft aluminum threads or even crack the AIRAID hat.
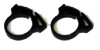
Use the two included ratchet clamps to secure the crankcase breather elbow to the rear side of the AIRAID hat. Tightening them is made easy using pliers. |
 |
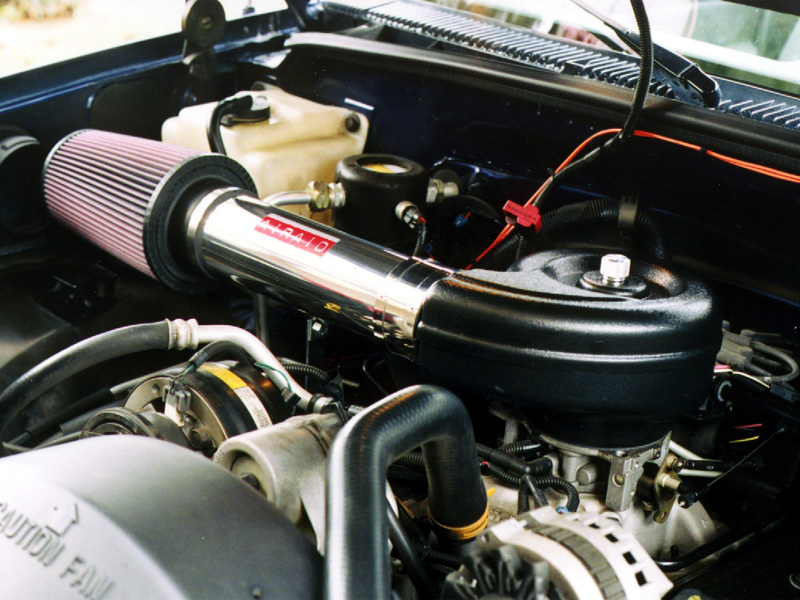
The K&N filter comes pre-oiled for everyday street use. Cleaning intervals are recommended at 40,000-50,000 miles, with a K&N cleaner and oil service kit. |
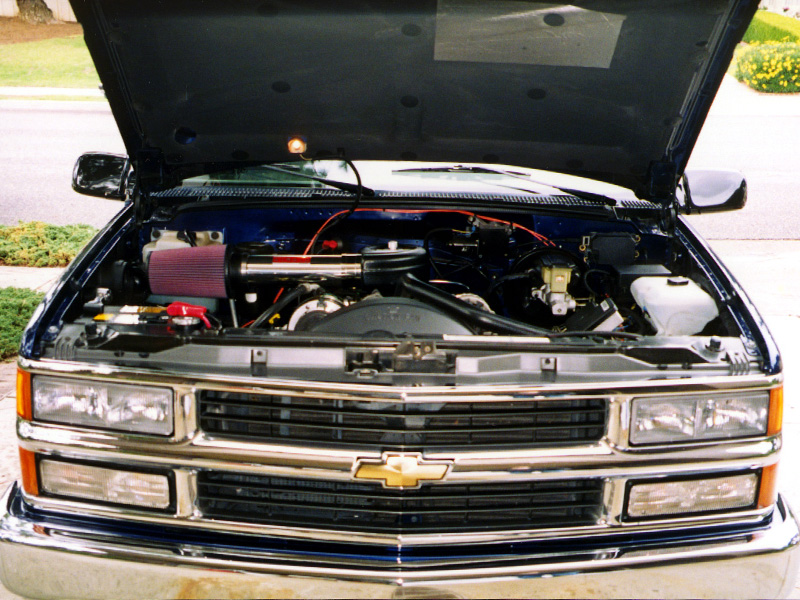
| The completed AIRAID intake system looks great and adds some much-needed style to an otherwise stock engine. Not to mention the increase in full-throttle power. | 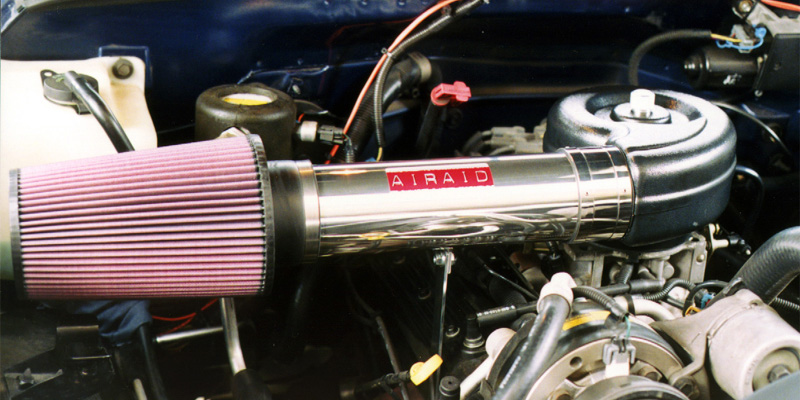 [ see detail ] |
Don't forget to re-attach the negative batery cable! Then you'll be ready to roll.
| AIRAID II Intake
System Evergreen Performance |
(c)1998 Sportruck.com